


Freezing Summer's Sweetness
Preserving Corn for Cold Winter Months

One of the most important things I do in July is start preparing for the months ahead. I like to fill the freezer with easy meals both to preserve the summer’s harvest and to make it easier to make dinner during the school year.
I’ll be honest: while I have the skills and the tools, I prefer not to can veggies—ever. I hate the taste of canned veggies. I find them mushy. I only can pickles and jams and sauces. The rest goes in my freezers—yes, the plural was on purpose. We have two full stand alone freezers. And they are almost always too full.
We buy our meat directly from the farm, and we buy in bulk. So, recently, for instance, we ordered 1/4 side of beef and 1/2 a hog. It’s cheaper, and it’s less full of preservatives. That matters a lot to me, since about five years ago, I started developing adult onset allergies to basically everything I was eating (that’s another story, another day).
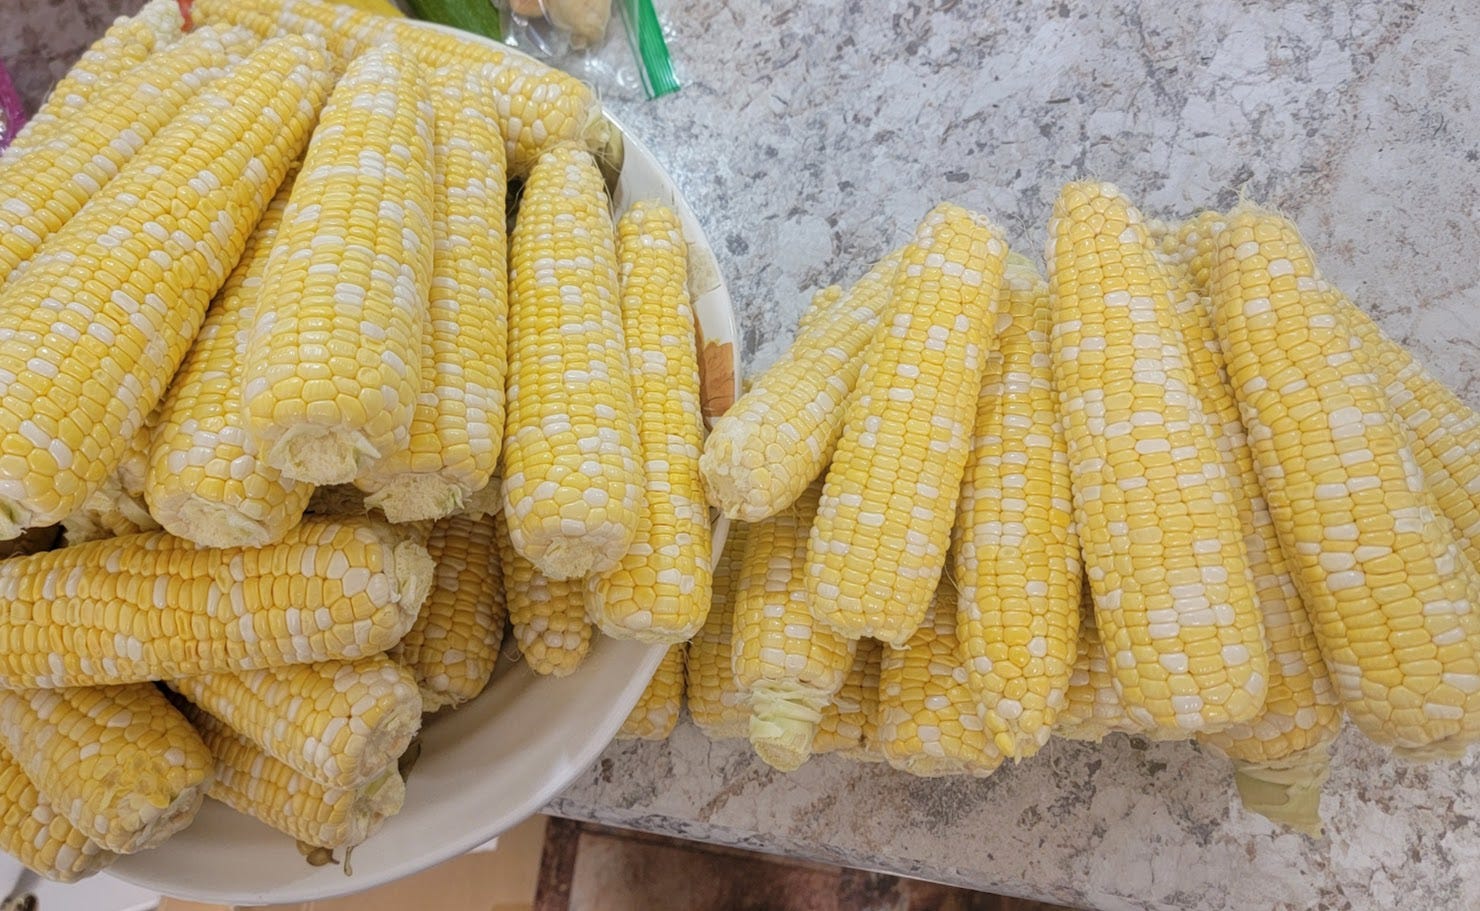
I, obviously, preserve what I grow as much as possible, but I do have to supplement some things. Corn is one of them. I’ve never planted enough for it to last more than a few meals. A farm about an hour away, though, grows the most delicious “peaches and cream” sweet corn. It starts coming in the first of July, so when it does, we make a trip to buy it (and whatever else looks good that day). Then, I spend a day preparing it for the freezer.
In this post, I will share my tried-and-true methods for freezing corn, along with some tips and tricks I've learned over the years. Whether you're a seasoned crone or a budding kitchen witch, I invite you to try this—corn frozen correctly is fabulous all winter long!
Freezing Corn on the Cob: A Taste of Summer Preserved
Selecting the Ears: Choose a variety you’ve eaten and enjoy. Get it straight from the farm or backyard, rather than the grocery store. Ears of corn should be plump and firm, with bright green husks and moist silks. The kernels should be plump and milky when pierced with a fingernail.
Shucking and Silking: Remove the husks and silks from the corn, taking care to remove all the fine hairs.
Blanching: Bring a large pot of water to a rolling boil. Blanch the corn for 4 minutes. (Do not add salt to the water!)
Cooling and Drying: Plunge the blanched corn into a large bowl of ice water to stop the cooking process. I usually leave it about 2-3 minutes only. Then, allow the corn to cool completely on the counter, then pat dry with a clean towel.
Wrapping and Freezing: I put mine in “food saver” vacuum bags and vacuum seal it. I put 3 cobs to a bag because that’s all we’ll eat in a single meal (you do you). Label with the date and vacuum seal.
Freezing Corn Off the Cob
Sizing: To make a bag of corn kernels to fry for dinner, you’ll need 2.5 to 3 cobs.
Cutting the Kernels: Stand the blanched and cooled ears of corn upright on a cutting board. Using a sharp knife, carefully cut the kernels off the cob, letting them fall into a large bowl or tray.
Packaging and Freezing: Transfer the corn kernels to vacuum freezer bags. Label the bags with the date. Vacuum seal, but stop before it starts smashing the kernels—just seal until air is gone.
Tips and Tricks for Freezing Corn:
Don't over-blanch the corn: Over-blanching can result in mushy kernels.
Cool the corn quickly after blanching: This helps to preserve the bright color and crisp texture of the kernels. (You might want to keep an extra bag of ice on hand for blanching day.)
Remove as much air as possible from the freezer bags: This helps to prevent freezer burn.
Enjoying Frozen Corn:
Frozen corn on the cob can be cooked directly from frozen by boiling, grilling, roasting, or microwaving. Frozen corn kernels can be used for a side dish or added to soups, stews, casseroles, etc.
Freezing corn is a simple and rewarding way to preserve the flavors of summer for the winter months. It’s one of the ways I embrace the abundance of the season and create nourishing meals that will warm our hearts and souls throughout the year.